I still meet people who think the only way to get a computer virus is by visiting “those” websites. If that were the main cause, my job would be a whole lot easier. The truth is, most infections today come from much quieter, everyday things that don’t look dangerous at all.
Most of the problems I fix start with someone being tricked—an email that looked real, a pop-up that seemed urgent, or a download that didn’t seem like a big deal at the time. It’s not dramatic hacking; it’s simple deception.
Here are the five mistakes I see the most in 2026.
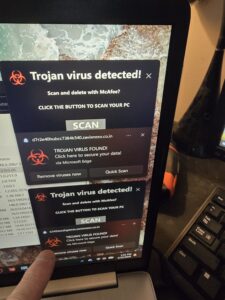
1. Clicking Fake Security Warnings
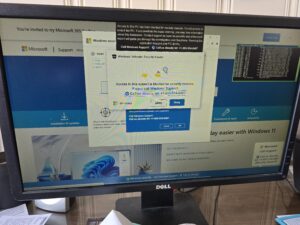
You’ve probably run into these before: a bright red box shouting that your computer is infected, sometimes with a loud alarm and a phone number claiming to be Microsoft support. They’re designed to make you panic and react fast.
I get calls about these all the time. They’re not real, and they’re not from Microsoft or Windows. They’re just pop-ups trying to push you into calling a scammer or downloading something harmful.
If one appears, don’t click anything inside it. Close the browser, and if it refuses to close, restart the computer. That usually clears it.
2. Trusting Every Email, Text Message, and Link
Phishing has gotten extremely convincing. I’ve seen fake Amazon emails that look cleaner than the real ones, and fake UPS texts that could fool almost anyone. Criminals know how to make things look official.
If you weren’t expecting the message, don’t click the link. Go directly to the company’s website instead. That one habit alone would prevent a huge amount of trouble.
3. Downloading Software from Unofficial Sources
A lot of infections start with someone searching for a “free version” of a program or a cracked download. Cybercriminals love this because they can hide malware inside whatever you think you’re getting.
I’ve removed viruses that came from fake Chrome updates, free video converters, pirated games, and browser extensions that looked harmless. If you need software, stick to the developer’s website or the Microsoft Store. Anything else is a gamble.
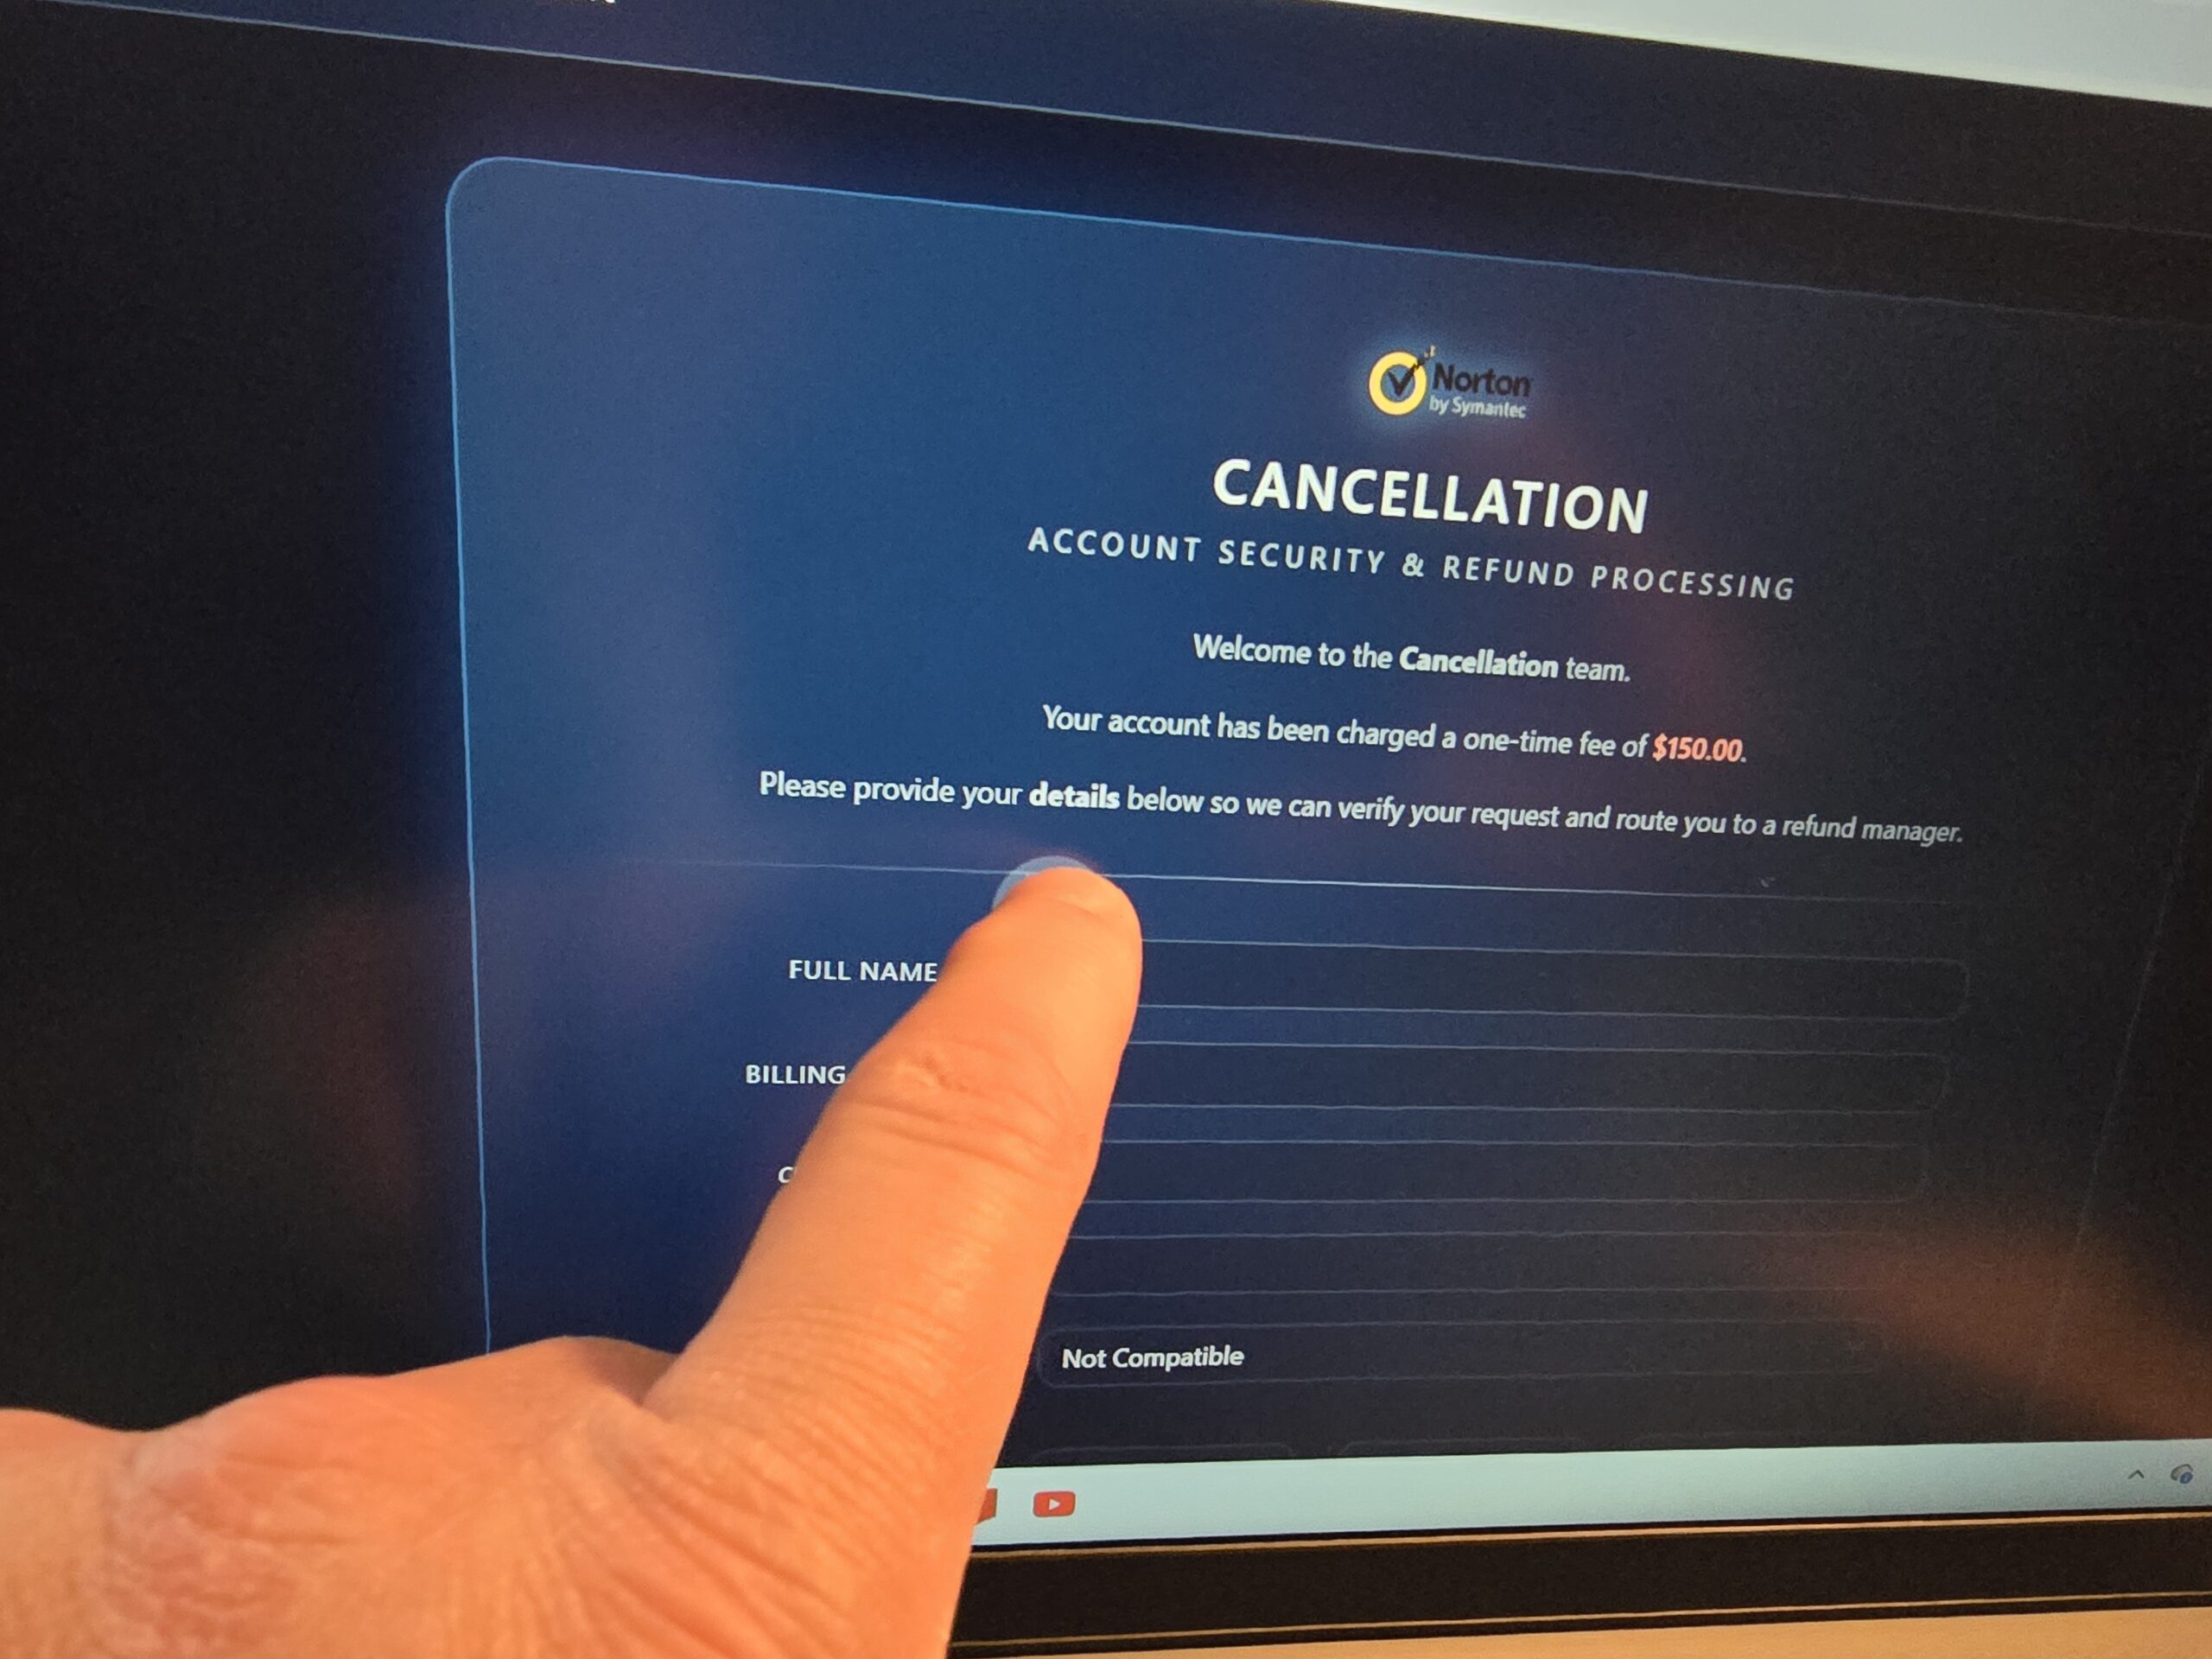
4. Giving Remote Access to Strangers
This one usually happens when someone is stressed or caught off guard. A scammer calls pretending to be Microsoft, Amazon, your bank—whoever—and says there’s a problem with your computer. They sound confident and walk you through installing remote-access software so they can “fix” it.
Once they’re in, they can do anything: install malware, grab passwords, poke around in your accounts, or charge you for fake repairs. It happens more often than people realize.
Real companies do not call you out of the blue about computer issues.
5. Reusing the Same Password Everywhere
This one seems harmless until it isn’t. When a website gets hacked—and it happens constantly—criminals take the stolen email and password and try it on every major site they can think of.
If you reuse passwords, one breach can turn into a whole mess. Using unique passwords for important accounts makes a huge difference, and a password manager makes it much easier to keep track of everything.
Why Antivirus Software Alone Isn’t Enough
Antivirus software is better than ever, and Windows has solid built-in protection now. But antivirus can’t stop you from clicking a fake link or letting a scammer remote into your computer.
Good judgment is still the strongest security tool you have.
What To Do If You Think Your Computer Has Been Infected
If something feels off, here’s what I recommend:
- Disconnect from the internet if you can.
- Stop entering passwords or financial information.
- Run a security scan.
- Change important passwords from another device.
- Call your IT person.
Final Thoughts
Most infections I deal with aren’t caused by hackers breaking in. They happen because someone got tricked into clicking something or trusting the wrong message. Staying alert and keeping things updated goes a long way.
If something doesn’t feel right, don’t ignore it. Catching the problem early can save you a lot of time, money, and stress.
[socialring]

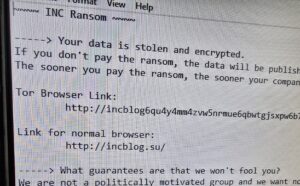 I just did a job at a lawyer’s office in Louisville where all the data on the server was encrypted. They almost lost everything. It was a password compromise issue. As more of our lives move online, internet security has become one of the most critical concerns for both individuals and businesses. Cybercriminals are constantly evolving their methods, often relying on simple but highly effective techniques to gain unauthorized access to accounts and systems.Understanding how these attacks work is the first step toward protecting yourself or your organization.

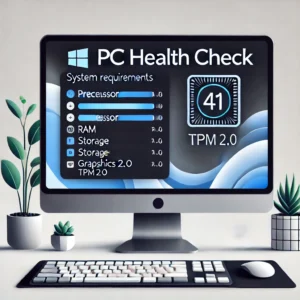 Upgrading to Windows 11 is an exciting opportunity to experience the latest features and improvements from Microsoft. Microsoft will stop supporting Windows 10 on October 14, 2025.. Follow this comprehensive guide to upgrade your PC safely and successfully, complete with illustrations for each step.