 McAfee antivirus software may need to be removed for various reasons. Not the least of which it causes dysfunction in your software environment, acts like a virus itself and slows your computer down to a crawl.
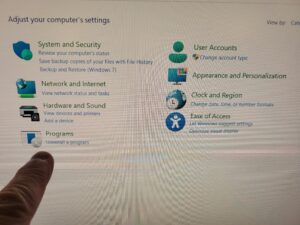
Here’s a step-by-step guide on how to uninstall McAfee from your Windows 11 system:
Step 1: Access Settings
Click on the Start Menu located at the bottom left corner of your screen.
Select the gear-shaped Settings icon to open the Settings menu.
Step 2: Open Apps
In the Settings menu, select Apps from the list on the left-hand side.
Step 3: Locate McAfee Software
Scroll down the list under “Apps & features” to find the McAfee antivirus software.
Click on the McAfee application to reveal the options.
Step 4: Uninstall McAfee
After selecting McAfee, a submenu will appear. Click on the Uninstall button.
Step 5: Confirmation Prompt
A confirmation prompt will appear asking if you want to allow this app to make changes to your device. Click Yes to proceed with the uninstallation.
Step 6: McAfee Uninstallation Process
The McAfee uninstaller will open. Follow the on-screen instructions to complete the uninstallation process. This may involve confirming your choice and waiting for the software to be removed from your system.
Step 7: Reboot Your System (if prompted)
After the uninstallation is complete, you may be prompted to restart your computer. If so, click on the Restart Now button to reboot your system.
Step 8: Verify McAfee is Uninstalled
Once your system restarts, check the Apps list in Settings again to ensure McAfee is no longer listed among your installed applications.
Congratulations! You’ve successfully uninstalled this garbage from your Windows 11 computer.
[socialring]

RSS Feed
